FIRE photo shop tutorial
Step 1
Create a new document (File -> New), 500X400 pixels. Fill the background with black colour.

Step 2
Create a new layer.
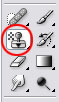
Use the pattern stamp tool (“clouds” pattern) to draw the shape of the fire.
Use the pattern stamp tool (“clouds” pattern) to draw the shape of the fire.
Step 3
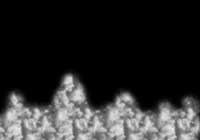
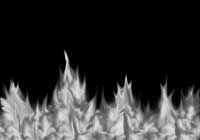
Go to Filter -> Liquify (Shift+Ctrl+X) and draw the flames out from the image.
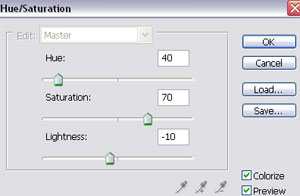
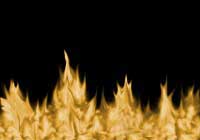
Step 4
Image > Adjustment > Hue/Saturation (or Ctrl+U). Check “Colorize“. Hue: 40; Saturation: 70; Lightnes: -10.
Step 5
Duplicate layer. Set the layer mode to Vivid Light.
Layer > Flatten Image
Filter > Distort > Ripple (Amount 100%; Size: Medium)
Edit > Fade Ripple (Opacity: 50%; Mode: Normal)
Layer > Flatten Image
Filter > Distort > Ripple (Amount 100%; Size: Medium)
Edit > Fade Ripple (Opacity: 50%; Mode: Normal)
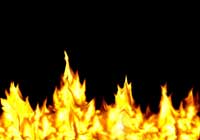
Click here to a see full size image of fire.
horrivel montagem