HONEY Texture
Step 1
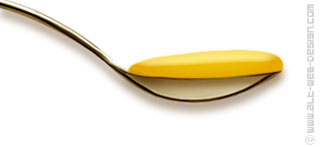
Draw any shape you like and fill with dark yellow colour like #F1D204.
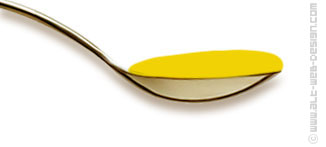
Step 2
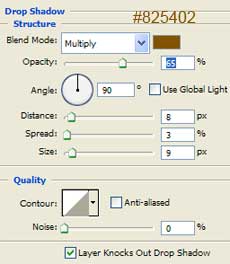
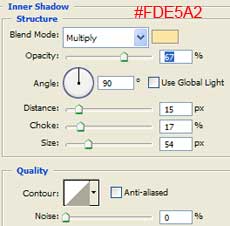
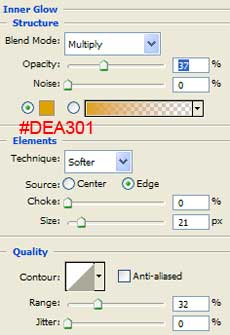
Add layer style with following options:
Drop Shadow

Inner Shadow
Inner Glow
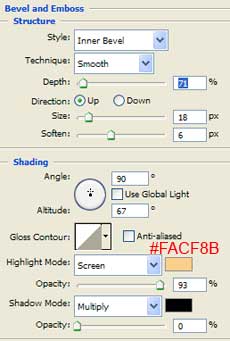
Bevel and Emboss
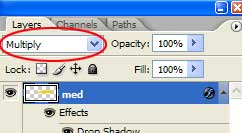
Multiply
Step 3
Create a new layer.
Set the foreground color to the same yellow as in Step 1 (#F1D204).
In the gradient palette set the fill to Foreground to Transparent.
Load selection of the shape in the first layer (Ctrl+click on the first layer).
On the new layer, click and drag from the bottom of the selection area, and holding down the SHIFT key to hold a straight line, drag to the middle of the shape.
Set the layer mode to Color Dodge and the opacity to 22%.

Step 4
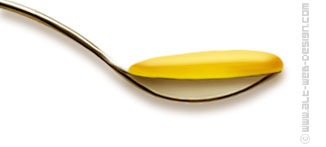
If you wish, you can use Burn Tool (Range: Midtones, Exposure: 20%) to darken around edges on the bottom layer.

Step 5
Add a background of your choice.
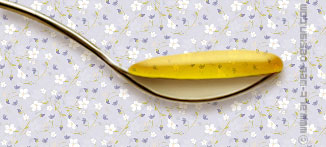
The finished result:

Applied texture:
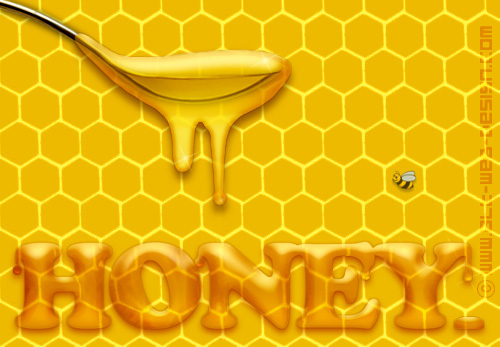

Awesome. Again very useful tutorial.
Thanks
AHH i dunno whats wrong w. me! i cant get this to work! 🙁
awesome! thanks alot!
How do you do the font in the same way?
Create the text you like using Type tool and #F1D204 color. Then follow the steps as above.
Please Can anybody upload the psd file!
@Markos
You can download the psd file here.
Are this options available in all the versions of PHOTOSHOP?
פוטושופ זו תוכנה נפלאה, אני משתמש בה על מנת לעשות תפריטים וזה יוצא נהדר
it seems to be easy..but when you ake it by yourself is not the same thing
if you learn the progrem for a while it is very easy. If you don’t it looks really hard.
Thank you helped me a lot